
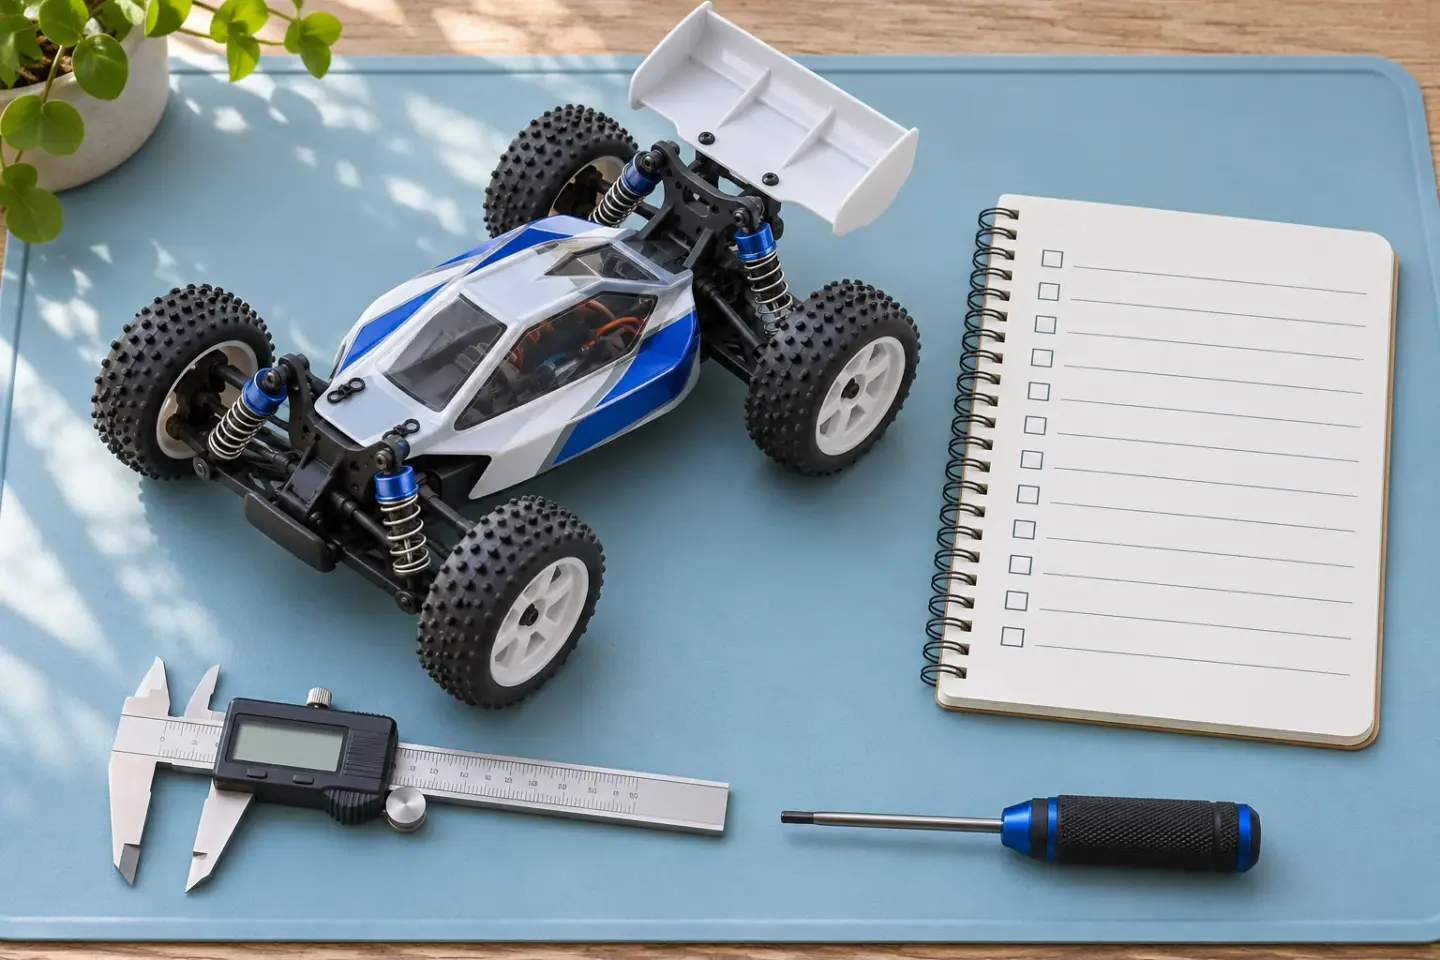
You replace a part, run a battery and the car feels better. Was it the part, a cleaner line, different tyres or a surface that dried out? A workshop notebook cannot remove all uncertainty, but it can stop a confident impression from turning into a false rule. Its job is to make the next decision easier.
Team Associated’s RC8B3.1 tuning guide recommends recording a standard setup, establishing consistent driving and making changes one at a time. That is a useful foundation. The notebook below extends it into a compact record suitable for practice sessions and home workshop projects. It is an editorial method, not a report of testing performed by this journal. Read the manufacturer’s setup method.
One question per session
Choose a question small enough to answer. “Does this wheel grip reduce the number of times I reposition my fingers?” is answerable with a few controlled passes. “What is the best transmitter?” is not. For a car setup, identify the corner or action: braking into a turn, crossing a rough section, or maintaining a broad arc.
Write the expected improvement before running. Also write what must not get worse. For example: fewer steering corrections through a broad turn, without a new tendency to wander on the straight. This prevents you from accepting one attractive change while ignoring the cost elsewhere.
The minimum useful entry
- Identity: chassis revision, model memory, battery and the parts involved in the change.
- Starting state: tyres, relevant settings, visible wear and any existing fault.
- Conditions: location, surface state, weather observations and whether traffic interrupted the run.
- Task: the same short route or manoeuvre, with a planned number of clean repetitions.
- Change: one exact part or setting, with before and after values.
- Result: the observation, unwanted effects and whether the comparison was clear enough to use.
Make the format easy to fill in beside the car. A paper card or plain text note is enough. A spreadsheet becomes useful when you have repeated comparable runs, but adding columns before you know what you need tends to produce an empty form.
Use a comparison that can survive its own result
Run the baseline first. Change one variable and repeat the task. If practical, return to the baseline once more. This A–B–A order helps expose a trend caused by practice or changing conditions: if the final baseline also improves, the new part has not earned all the credit.
A return run is not a complete scientific control. Tyres wear, batteries differ and the driver learns. Record those limits rather than presenting a small session as proof for all cars and surfaces. For many hobby decisions, “promising enough for another session” is the correct conclusion.
Separate interrupted attempts from clean attempts using a rule chosen in advance. A collision or another vehicle blocking the route can invalidate a comparison. Do not quietly discard a poor attempt just because the new setup felt promising. Keep the reason beside the result.
Turn vague observations into something countable
“More stable” can mean fewer spins, less visible roll, less steering correction or less fatigue. Choose the one that matters. Count missed gates, unplanned stops or re-grips over a fixed task. Where timing is available, keep the individual clean lap times rather than only the fastest lap. A single exceptional pass can conceal a setup that is difficult to repeat.
Example, not measured data: baseline runs produce two missed gates in ten attempts; the changed setup produces one. That is a difference of one event in a small sample. It warrants another comparable session, not a claim that the change halves errors in general.
Close the entry before you pack away
Choose one of four outcomes: keep, revert, repeat, or inspect. Add one sentence explaining why. If you keep a change, update the baseline sheet so the notebook and car agree. If you revert, label the removed parts and preserve their settings. If a mechanical problem emerged, resolve it before collecting more performance observations.
Take one final photograph that shows the relevant assembly. File it with a short identifier such as “front-bar-B,” then use the same identifier in the note. The photograph captures details a written measurement can miss; the note explains what the photograph cannot. Together they make your next workshop session start with evidence rather than memory.