
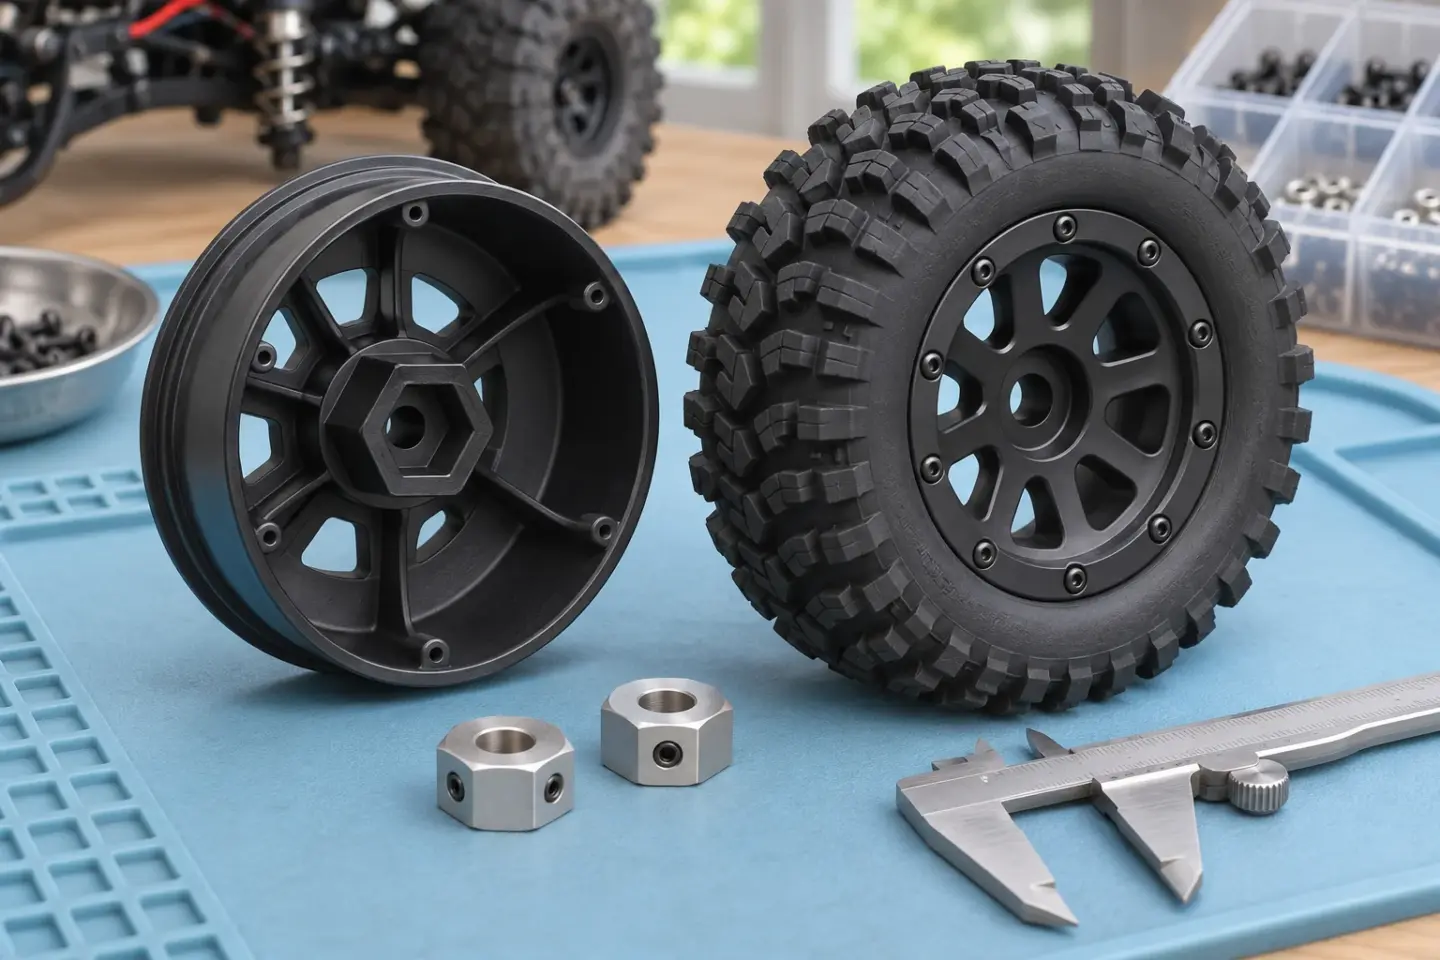
The old Blue Groove entry numbered 29901 appears in surviving link records from RC Universe discussions about wheels and tyres, including a wheel-extension question. The complete original specification has not been recovered. This page preserves that subject without inventing a wheel diameter, offset, material or compatibility list for the old product. Historical referring discussion.
For a wheel you intend to use now, inspect the complete assembly. A matching hex measurement answers only one of several questions. The mounting depth, axle hardware, wheel position and tyre clearance still have to work together.
Start at the axle and work outward
Identify the exact chassis revision and any hub conversion already installed. Record the axle and hub part numbers where available. A used vehicle may no longer have the mounting arrangement described by its original box, so compare the actual parts with the relevant exploded diagram.
HPI’s page for Warlock wheel 3191 specifies an offset relationship and describes different hub-conversion requirements for particular Savage applications. It is a useful example of a manufacturer describing a fit as more than a scale or wheel name. Those statements apply to that product, not to every Savage-branded wheel. HPI’s wheel and hub information.
The four interfaces to record
- Hub to wheel: hex size and engagement, recess depth and the intended seating face.
- Axle to fastener: the specified nut or retaining hardware, available engagement and any required adapter arrangement.
- Wheel to tyre: compatible bead arrangement, diameter and width, with the correct insert where the system uses one.
- Assembly to car: clearance to the upright, links, shocks and body through steering and suspension movement.
Take photographs of both sides of a loose wheel. A front view hides the mounting recess and can make different offsets look identical. Ask a seller for the manufacturer’s part number and drawing rather than relying on a picture beside a ruler.
Describe offset with a reference
Offset concerns the position of the wheel relative to its mounting arrangement, but product descriptions use different conventions and adapters can change the result. Keep the maker’s reference drawing with the measurement. An unlabeled “plus 10” is not a complete specification.
Pro-Line’s 6×30 chart distinguishes removable hex configurations and shows a wheel-mounting reference. Use a chart of that kind for the actual wheel system. Do not assume that two removable centres interchange because both attach with several screws. Pro-Line’s removable-hex chart.
If the intended change moves the wheel outward, check the whole assembly again. More apparent body clearance does not establish that the mounting hardware, steering geometry or overall width remains suitable. For racing, confirm the applicable class dimensions before buying parts.
A static fit check comes before a powered run
Disconnect the battery for fitting. Follow the manufacturer’s assembly and tightening instructions. Confirm that the wheel seats on the intended surfaces and that fastening it does not leave unexplained movement or create binding. Do not solve a seating problem by simply tightening harder.
Inspect clearance through the permitted steering and suspension range. Check the body fitted as well as removed. Repeat on both sides; an apparently successful fit on one corner can miss differences elsewhere. If an adapter is required, establish the supported combination rather than stacking unrelated spacers.
Tyre changes belong in the power-system notes too
Record overall tyre diameter and the installed gear ratio with the change. A larger rolling circumference changes ground travel per wheel revolution; a wheel fit decision therefore has consequences beyond whether it clears the shell. Reassess the manufacturer’s gearing guidance before using a substantially different tyre arrangement.
Finish with a short controlled run and the manufacturer’s prescribed checks. Record any rubbing, looseness or changed behaviour, then inspect before extending the run. Keep the old assembly and its identifiers so a reversible experiment stays reversible. The useful outcome is a documented compatible set, not a wheel that merely slides onto the axle.