
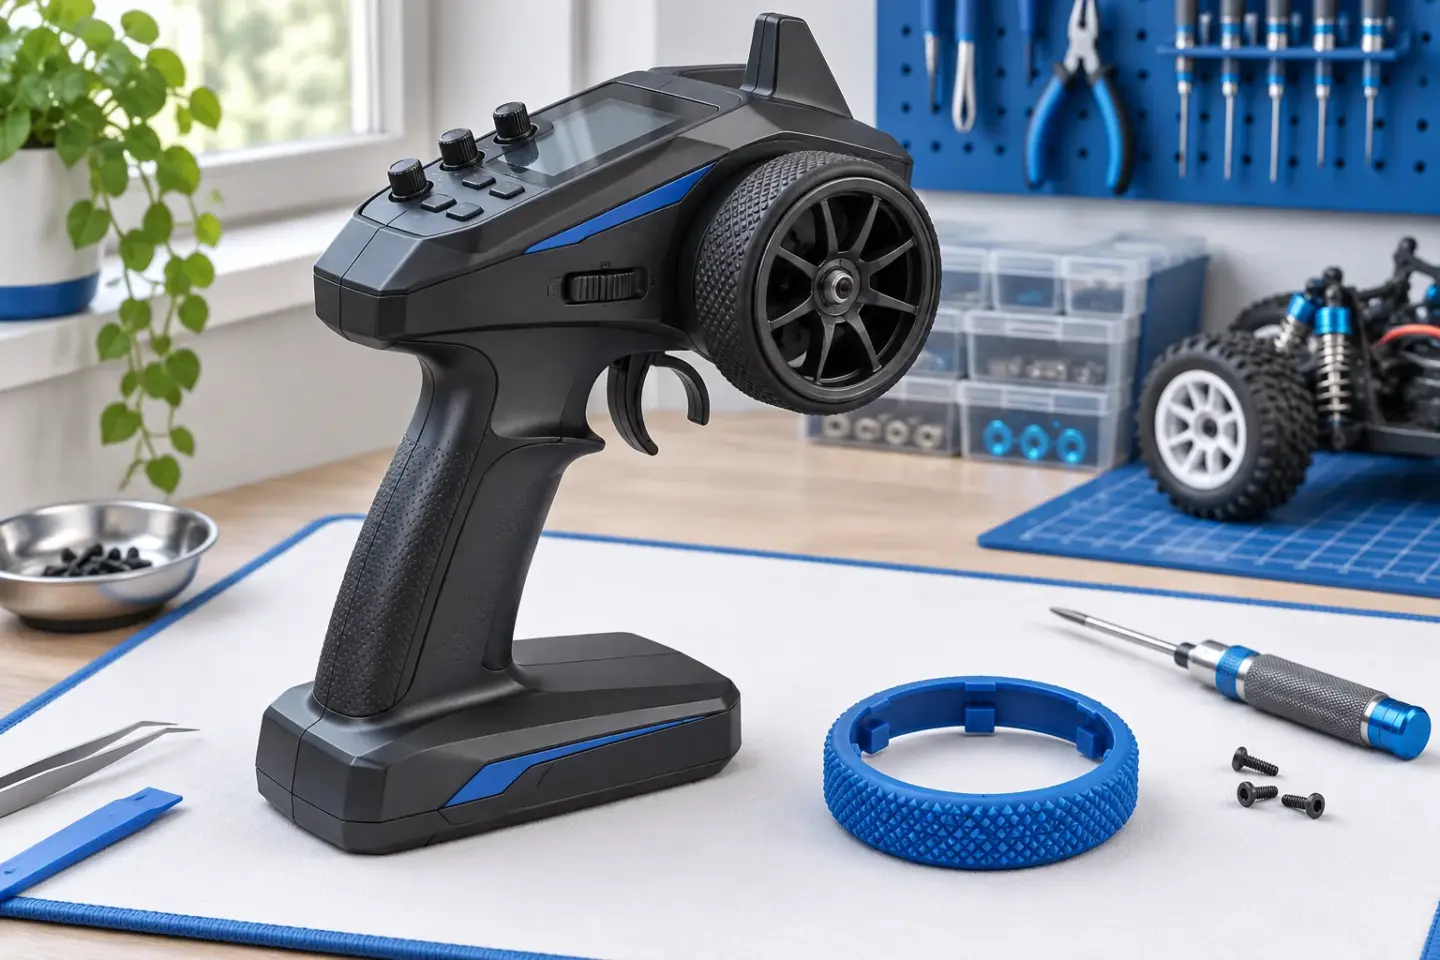
The old Pro Grip link leads to a transmitter accessory, not a tyre for an RC car. Blue Groove RC Concepts sold shaped grips for the steering wheels on pistol-style radios. This page preserves that subject for readers arriving from old reviews. It is a new reference article from Blue Groove Workshop Desk; the present journal does not sell the original product or provide its warranty service.
What the surviving record establishes
Big Squid RC’s original review covers both Pro Grip and Pro Grip 2 QR, with QR expanded as Quick Response. Its direct product link points to the former catalogue entry numbered 29829. The reviewer describes differences in the grooves and a tight installation, and expresses a personal preference for the original version. That is evidence of the products and one reviewer’s experience, not a compatibility guarantee for a radio on your bench. Read the original Big Squid RC review.
Red RC also covered Pro Grips on 1 November 2006, alongside Blue Groove billet transmitter wheels. Its report helps establish the period and the connection between grips and replacement wheels. Neither historical article establishes today’s stock, material condition or price. See Red RC’s contemporary report.
First identify which part you have
A loose ring, a complete wheel and an adapter are different purchases. Before taking anything apart, photograph the installed wheel from the front and side. Note the transmitter’s full model name, the wheel diameter, the width of the rim and the shape of the mounting interface. Record whether a separate foam or rubber ring sits on a rigid wheel. A seller’s phrase such as “fits most radios” leaves all of those questions unanswered.
If you have an old Pro Grip, retain its packaging and any instructions. Do not identify its exact version solely by colour: photographs, lighting and replacement parts make that unreliable. Ask for a photograph of the markings and mounting arrangement when buying a used accessory. If the original instructions cannot be found, treat the installation procedure as unresolved rather than borrowing a forceful method from another radio.
Fit has three separate checks
- Mechanical fit. The grip must sit on the intended rim without fouling the radio body, trim controls or wheel travel. A complete replacement wheel also needs the correct hub, screw and any specified adapter. Diameter alone is not enough.
- Hand position. With the radio powered off, hold it in your usual driving position. Turn the wheel through its normal movement. Check that your fingertips can change direction without having to re-grip and that the other hand can reach the trigger naturally.
- Return and clearance. After an approved installation, check that the wheel moves freely and returns normally. A sticky or rubbing wheel is a reason to stop and inspect, not something to compensate for with a different steering curve.
Do the powered functional check with the vehicle safely supported and the drive system made safe according to its manual. Keep hands clear of wheels and gears. Wheel work should never create an unexpected throttle input or reduce access to the power switch.
Do not make the grip solve the wrong problem
Write down the complaint before choosing an accessory. “My fingers slide on the rim” describes a contact problem. “The car turns too sharply around centre” describes an input-response problem. “The wheel is too far from my trigger hand” describes geometry. A grip can change the first and may change perceived reach; it does not diagnose the other two.
Some radios provide mechanical adjustments that deserve attention first. Futaba documents wheel-position and angle adjustments, trigger-position adjustment and a larger wheel for the 7PX. Those are examples specific to that model, not features to assume on every transmitter. Check your radio’s own manual before buying an accessory to compensate for a position that is already adjustable. Futaba’s 7PX adjustment overview.
A useful comparison costs one page
Keep the radio settings fixed. Write down the original wheel arrangement, then compare the alternative on the same easy driving task: a straight section followed by a broad left and right turn. Note missed corrections, unintended re-grips and whether you can return to your usual hand position. Give yourself time to become familiar with a change before judging it.
Keep the original parts in a labelled bag. A result such as “comfortable, but harder to make small reversals” is more useful than “better.” It tells you what to change next. For the separate job of setting travel and response, continue with our transmitter setup guide.